The Surge 2 Little Johnny
The main aim of the Little Johnny boss battle is to destroy five coolant tanks, ultimately overheating and destroying the mech. There's one tank on. Sep 24, 2019 The Surge 2 Little Johnny Boss Fight and EMP-44 Starfish Location - Duration: 6:08. The Surge 2 How to Beat Little Johnny Boss Fight - Duration: 6:14.
As soon as you enter the Seaside Court, you’ll find yourself in a combat-free zone. Turn to the left and activate the Medbay in the corner here.
Whilst we don’t need to worry about combat for the moment, you can explore the area. Many of the NPCs here can be talked to and they’ll give you advice or flesh out a little backstory. Access to the Port Nixon area is via a door at ground level. It’ll be locked for the moment until we speak with Brother Eli. For now, There are a couple of new side-quests to grab here including:
- A Simple Favor - Speak with Molly at her shop in the back, left hand corner of the ground floor. Offering to help her at this point will give you a side-quest.
- April's Fool - Loot the Key Item - Plastic Rose next to Rex’s Shop on the middle level and talk with him about his issues to pick up the side-quest.
- Hearing Aid - On the top floor of the Seaside Court area, there is a flashy looking vending machine called Mr Scrappy. This will reward you for finding Audio Logs. Speaking with him will give you an Audio Log – Outtakes. He’ll also give you this side-quest to encourage you to track down all of the Audio Logs.
In addition to the new side-quests there are some other points of interest:
- There is a fellow drumming away on some boxes right next to Molly’s shop. Interact with him to join in the fun.
- There is a shop run by an NPC named Molly in the back, left hand corner of the ground floor. She sells Armor and Implants. She sells the following:
| Molly's Shop | |||
|---|---|---|---|
| Type | Name | Description | Price |
| Graffiti Tag | Audiolog | Added to icon repository on purchase. | 3,000 Scrap |
| Graffiti Tag | Going in Circles | Added to icon repository on purchase. | 3,000 Scrap |
| Schematic | A.I.D Nightfall Head Gear | Used to craft armor. | 1,000 Scrap |
| Schematic | A.I.D Nightfall Leg Gear | Used to craft armor. | 1,500 Scrap |
| Schematic | A.I.D Nightfall Arm Gear | Used to craft armor. | 2,000 Scrap |
| Schematic | A.I.D Nightfall Body Gear | Used to craft armor. | 2,500 Scrap |
| Schematic | ANGEL VI Body Gear | Used to craft armor. | 7,500 Scrap |
| Ammo | Omni-Cells | Used for Drone weaponry. Single or in stacks of up to 50. | 20 Scrap each |
| Implant | Antitoxic Array Mk.III | Reduces buildup of Poison and duration of Poison debuff. | 1,000 Scrap |
| Headgear | InFocus 999 | Sunglasses that count towards all other set bonuses. | 2,374 Scrap |
| Headgear | Backwards Bully Cap | Hat that count towards all other set bonuses. | 2,374 Scrap |
- There is a shop in the back, right of the first floor owned by Rex. He sells Drone Modules and Drone-related consumables. His wares include:
| Rex's Shop | |||
|---|---|---|---|
| Type | Name | Description | Price |
| Graffiti Tag | Star | Added to icon repository on purchase. | 3,000 Scrap |
| Graffiti Tag | Breakable | Added to icon repository on purchase. | 3,000 Scrap |
| Ammo | Omni-Cells | Used for Drone weaponry. Single or in stacks of up to 50. | 20 Scrap each |
| Implant | Drone Proximity Adapter Mk.II | Increases Drone damage when close to target. | 1,000 Scrap |
| Consumable | Grenade | Launches a grenade that explodes with concussive force on impact. | 500 Scrap |
| Consumable | Molotov Cocktail | Launches a burning bottle of fuel that explodes into flame on impact. | 750 Scrap |
| Module | CREO Industrial Magnet | Pulls a target towards the combat Drone. | 10,000 Scrap |
To continue, make your way to the first floor and enter the doorway flanked by guards. Inside you will find Brother Eli. Approach him after he is finished chatting with his prisoner and speak with him. Agree to help him with Little Johnny and he’ll hand over a Keycard – Prophet’s Keycard.
Your current quest will also update.
Now that we have Keycard – Prophet’s Keycard in our hands, we’ll be able to push forward. This key opens a door on the top floor by Mr. Scrappy to the Welder’s Block Rooftop area and the door to Port Nixon on the ground floor. To proceed, head downstairs and continue to Port Nixon.
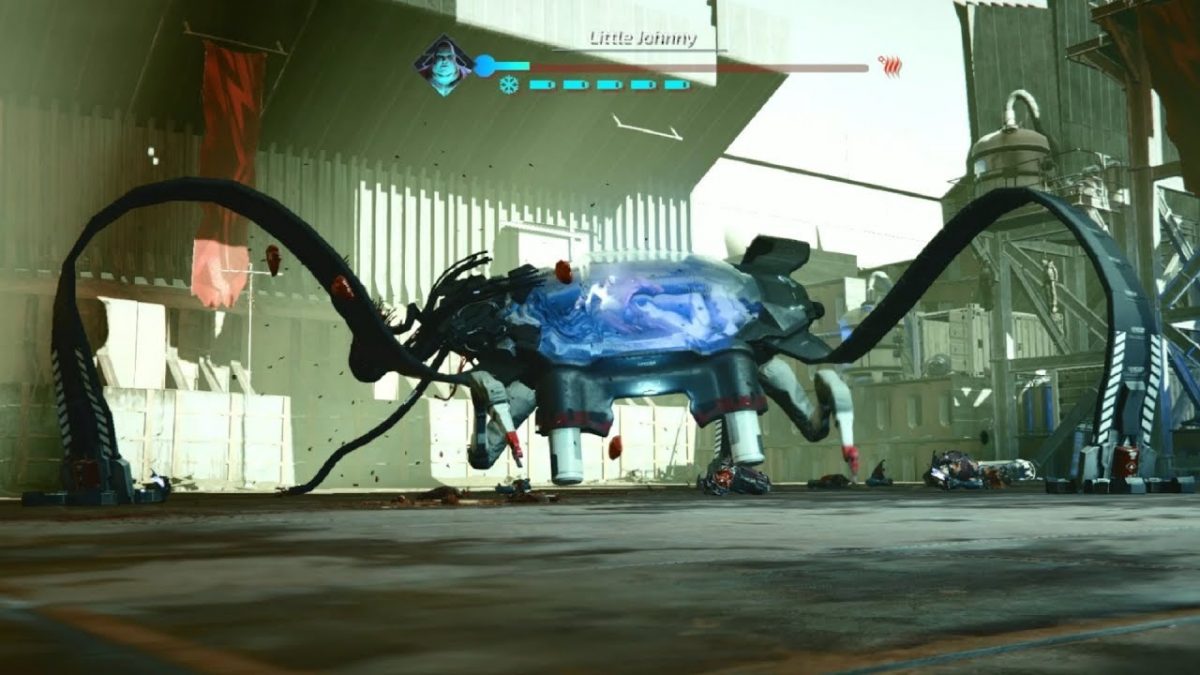
Little Johnny How to Beat?
Little Johnny is the first major boss you run into in The Surge 2. You are asked to take care of him by his brother (family, right?). You need to make your way through Terminal Z, opening up all the shortcuts as you go, to give yourself an easy run from the Med Bay to the boss fight, because you might need it.
The main aim of the Little Johnny boss battle is to destroy five coolant tanks, ultimately overheating and destroying the mech. There’s one tank on each of the mech’s three legs and two tanks at the core which houses Johnny, with the latter being the hardest to handle and consequently the best place to start. (Nobody wants to spend time successfully handling the legs only to fail at the final hurdle, after all.)
First things first: If you’re a fan of heavy-duty, lumbering two-handed weapons, you’re going to need to switch up your loadout. Johnny’s mech is very mobile and quite disorienting in its tumbling, unpredictable movements, which means that by the time you’ve wound up a swing, it’ll most likely no longer be on-target when it gets unleashed. You’re looking for something fast—ideally a twin-rigged class weapon, as they’re the quickest available—and to be highly aggressive in order to accrue power to charge batteries, which can then be used to power the healing injectable and keep you in this marathon fight for longer.
As such, equipping any implants that help to increase your power gain and/or negate battery drain comes in very handy. Even with this ideal loadout, you can’t be too greedy and should aim to land around two hits at a time.
That's Age of Warlords!FEATURES√ FREE TO PLAY: brand new Multiplayer Online Strategy War Game√ BATTLE & CHAT with players worldwide in dozens of different languages.√ Join an ALLIANCE to make your Empire long-lasting!  Speed up all aspects of your territory's development and increase your army's attack and defense abilities!√ Vivid graphics of construction,army and environment in Middle Ages style!ATTENTIONA network connection is required to play Vikings - Age of Warlords.PLEASE NOTE! Occupy a FORT with your allies to defend together, attack together and develop together!√ Train a legendary Army! Attack and Conquer to become the almighty Warlord!√ Upgrade your tech level at a rapid pace!
Now that the core has been dealt with, it’s time for the easier task of tackling the three legs individually. There’s a lot of open space in this boss arena and you’ll need to utilize that to try and remain central, as getting pinned up against a wall or in a corner has the potential to be lethal. Canceling your lock-on can be useful on occasion in order to gain control of the camera, gather your bearings, and reposition, as the legs are a huge and moving target which can make it easy to get lost when the camera is set to automatically follow.
Johnny will still use some of the aforementioned attacks, but now you should already be equipped to handle those and can instead elect to attack the nearest leg. Due to being farther out of range, he’s now far more likely to stand up tall and drop numerous electrical mines that spread around the battlefield, though. These deal damage and temporarily impede your movement when triggered, but dodging over the top of them (or, of course, being careful to avoid them) negates their effects.
By standing between the outgoing streams of mines as they deploy you can get some significant damage in while the mech is preoccupied, so feel free to exceed the two-hit rule here. Make sure to target the left and right side legs, as there’s a cheesy little trick to get the back leg basically for free.
By staying directly behind the leg and attacking it, you can repeatedly bait out a backward thrust from the pod that’s laughably easy to dodge before closing the gap and repeating the process. If you saved this one for last, boom goes the mech, and The Surge 2 Little Johnny boss will be a goner.
Destroying The Core Coolant Tanks
In order to have these two-hit windows on the mech’s core coolant tanks present themselves, you’ll want to stand directly beneath the airborne core pod and maneuver yourself to stay just there as the robotic legs perform two consecutive strides, after which you can sprint over to either of the tanks and get your digs in. From here the pincer-like arms on the pod may unleash a swiping attack, in which case a backward dodge will put you out of range. This is also the tactic to employ if you see the pod raise up in preparation for a ground slam, after either of which you can close the gap and land another flurry
It’s also possible that the pincer arms will perform a forward lunge or that the mech will spew toxic sludge directly ahead, both of which should instead be dodged to the side. This maneuver should place you beside either the right or left leg, presenting a good opportunity to land a couple of free hits on those before shifting your focus back to the core.
With knowledge of how to avoid and counter the relevant attacks, you should soon have mastered taking out the core coolant tanks. Do be aware, however, that any destroyed tanks will begin emitting noxious gas, so be sure to adjust your approach on the fly to avoid the visible clouds. You don’t have to perform perfectly, as you should earn plenty of power if you’re being aggressive enough, the likes of which can then be used for frequent heals and even banked up to three times to be used for additional health gain later.